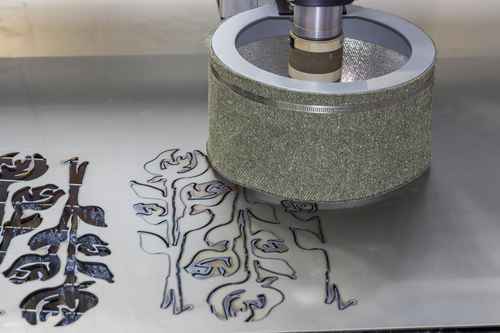
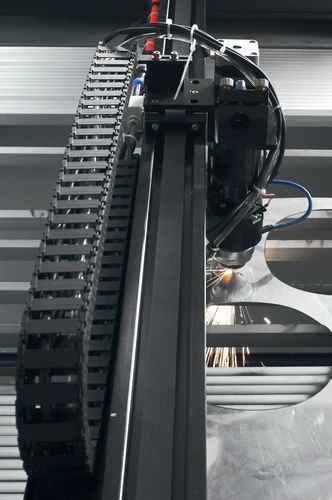
Laser engraving has plenty of uses, right from engraving on awards and trophies, to engraving on promotional items, signage, and everything in between. Much like every other technical skill though, Laser Engraving takes some practice and experience.
If you are planning to engrave using laser on your own, here are some vital tips for you that will ensure a job well done.
Preparing Yourself Right
Everything starts with good preparation. Before you actually get down to cutting and engraving, here is what you must keep in mind:
- When you are engraving on an object, the smoke from the task can leave a stain on the surrounding area. In order to avoid that, you can cover the object with a masking tape. You can increase the power of the engraving machine if you think that the tape is impeding the task. Once the engraving is done, you can simply remove the tape, and the job is done. This is especially useful when you are engraving on leather or metal.
- A laser machine comes with certain pre-loaded settings for different materials and thicknesses. In most cases, you can load these settings into your computer, and save them as presets. It is a good idea to do so, and save presets in an easy to understand name. That way, you will save time when you need to engrave ¼” thick leather the next time.

When Engraving on Wood
- Wood is a very good material to engrave. However, you need to be aware of what kind of wood you are engraving on.
- Naturally occurring wood behaves very differently from MDF and plywood.
- Natural wood has grains to it, with the darker ones a lot harder than the lighter ones. Thus, when you engrave on natural wood, you will get a light/dark pattern.
- If you are looking for a more uniform look, you should use plywood or MDF instead, which has a smoother top surface.
- In addition to that, if you are engraving on something that has a thin wood veneer on top, you should be aware that it will burn very quickly, exposing what’s underneath. Thus, before you engrave, make sure what’s underneath that actually looks good.
Vector Cut versus Raster Engraving
In raster engraving, the laser head moves from left to right, moving down slowly, until it has engraved the entire image. Vector cut engraving simply engraves along the lines of the image. Thus, vector cut is a lot faster than raster engraving.

However, the advantage with raster engraving is that you can have lines of different thickness within the same image. Thus, if it is a map you are engraving, you can set thickness of different lines separately. While it will take a lot longer than vector cut, you will get a better result aesthetically.
Getting Thicker Lines with Vector Cutting
- Often, when you set your vector cut laser engraving to low power and high speed, it will burn a thin line in the material.
- If you want thicker lines though, you can play with the focus of the laser machine. Place a thick material on top of that particular material which you want to engrave, such as plywood.
- Now, when you engrave the material, the lines will be spread out, giving you a thicker image, like raster engraving. However, the disadvantage with this technique is that the lines are much softer than raster engraving. You do get the advantage of time-efficiency though.
Take Help of the Red Dot
Most laser engraving machines come with a red dot that tells you where your material will be engraved. When you are unsure about how your material will be engraved, power off your machine, load your design file, and use the red dot to trace the path of the laser. Please click here to know more about laser engraving.


